
any similarity
to another tutorial is strictly coincidental
please do not copy my work or claim as your own
my supplies here
font of choice
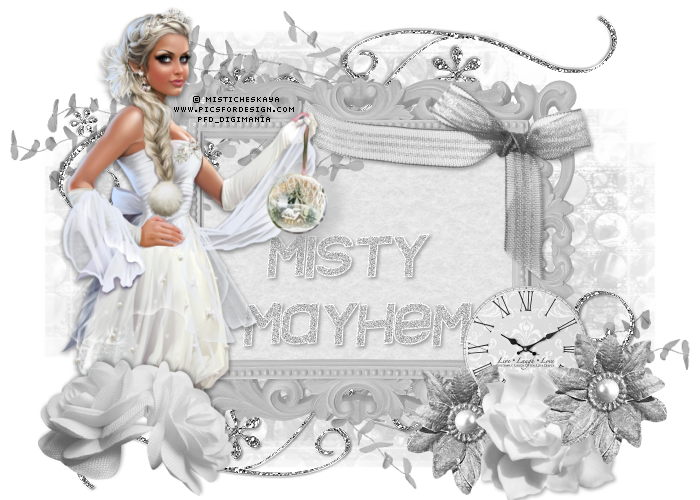
you will need a tube with a close up if possible
i used © neoracer
who is an artist for SATC
you can purchase the tube HERE
lets get started
open your tube and supplies in psp
open your on your template
choose which of the papers you wish to use
copy paste paper resize by 70%
highlight on the circle layer
selections /select all/selections/float selections/defloat
selections /invert
highlight your paper layer and hit delete on your keyboard
repeat as above on both rectangles using the other two papers
find the flower and resize to fit inside the circle layer
add a small drop shadow of choice
find the two heart resize by 60%
place on the left rectangle at the top
find your bow and resize by 60%
place this on the top of the left rectangle
so that it is slightly over the two hearts
find the brooch
place that at the bottom of the right rectangle
duplicate the brooch layer and mirror
placing it at the top of the right side rectangle
find the mask resize by 50%
place that at the bottom right triangle
using your deform tool twist the mask a little to the right
(see mine above )
if you wish you could find a different flower or use the same one
and copy paste as new layer
mura's meister encircle using default settings
drag the layer down so it is just above the mask layer on the template
up making sure the flower layer is highlighted
now add your close up of the tube
now add the full size of the tube resizing if needed
add your copyright and url of artist
and licence if you are using a ptu tube like me
add your name
x out the mask layer
highlight one of the other layers
and mmerge/merge visible
duplicate the merged layer
resize the original merged layer by 90 %
the copy of merged layer by 85%
on the original layer adjust/blur/gaussian blur 20.00
on the mask layer
adjust/add remove noise/ 40.00
now layers /merge/merge visible
adjust/sharpen/sharpen
resize your finished tag to 600x600
thats it your done
No comments:
Post a Comment