Circus Fun

any similarity
to another tutorial is strictly coincidental
please do not copy my work or claim as your own
for this tutorial i have used the program
paint shop pro 9 but any one will do
for this tut you will need the following
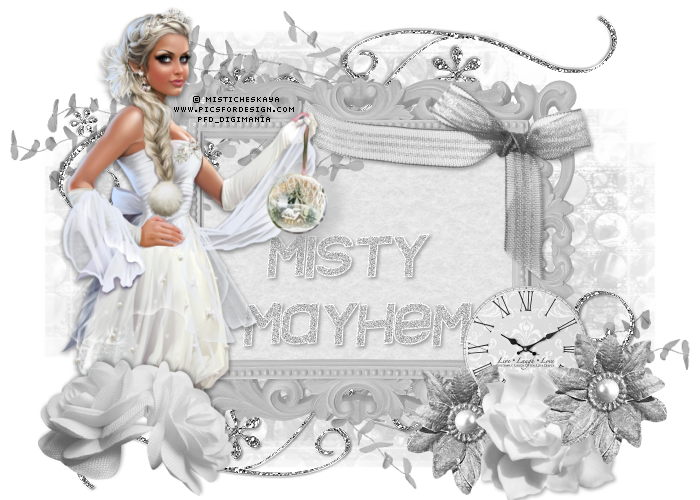
a tube i have chosen the tube
by Misticheskaya
you can purchase the tube here
i have used the awesome scrap kit
circus fun 1
designed byShells Scraps
who is a designer for
Exquisite Scraps
you can purchase the kit here
plug in :
muras meister /copies/ encircle
eye candy gradient glow
mask of choice
font of choice
lets get started
open a new raster layer 1000x1000
i know that large but we resize later :)
open 7 of your kit elements that will match together
choose a frame from your kit or an element that you can make into a frame
if you are going to make the frame
on your work layer copy paste the element you have chosen for the frame
and image/resize by 30%
plugin : muras/meister copies
on the bottom left drop down choose encircle
with the settings below

(click to enlarge )
in your layer pallette change the layer name to frame
now back to your kit find a nice paper and copy /paste as new layer
drag below your frame layer
highlight your frame layer
click in side the frame and selections /modify/expand by 5
back to selections and click invert
highlight your paper layer and hit delete key on your keyboard
choosing one at a time place your other elements
by copy /pasting as new layer with each element
move your elements around untill you have them how you like them
now add your tube
if needed resize to fit
so that it isn't overpowering your work area
add a drop shadow of choice
once this is done layers /merge/merge visible
you can make some word art using your font you have chosen
i made mine
all the fun ...
of the circus
because the kit is a circus kit
but you dont have to do this if you dont want too
there are also lots of blogs that do
word art
a search will show you
adding your name /word art
write what ever you choose for your word art
then if your type is in vector right click and change to raster layer
once this is done
on your word
selections/select all/selections/float/selections/defloat
selections/modify expand by 5
add a new raster layer drag below your word art layer
choosing a contrasting color
use your paint brush and fill inside the marching ants making sure
you are on the new layer
once you have finished painting on your word art layer right click and merge down
repeat this with your name
except once you have merged the two layer ( name /paint)
effects/plugins/eye candy /gradient glow
with the settings below
dont forget to change the color

add your copyright and url of your artist
and if you are using a ptu tube also your licence
merge/merge visible again
image/resize 600x600 all layers ticked
thats it your done
hope you enjoyed this tutorial
No comments:
Post a Comment